How To Install Vinyl Plank Flooring Around Floor Drain
Hi friends!!
We're talking about Day 3 of our 3 day budget laundry room makeover. We tackled the floors, trim, and made that nasty utility sink into something pretty and usable. The largest decision we had to make about this laundry room makeover was what floors to put in. Since the laundry room is slanted toward the drain, we didn't want to install tile, since we heard it would crack if installed over unlevel surfaces. We also wanted something that was waterproof, in the rare case that the utility sink might get clogged and the washer overflows, and something that could be pulled up easily if necessary. So a waterproof, flexible, glueless flooring…
(This post contains affiliate links. This means I get commissions for purchases made through links in this post.)
Installing Vinyl Floors in Laundry Room
So here's what we used:
Kilz Primer
Trafficmaster Allure Resilient Vinyl Flooring
Roppe Vinyl Wall Base
old toothbrush
black paint
hammer (though I might suggest a mallet)
Carpenter knife for cutting planks (we ended up using our miter saw to make it faster)
After literally sitting on the floor in the flooring isle of Home Depot for what seemed like FOREVER, we made a decision to go with the Trafficmaster Allure Resilient Vinyl Flooring. I'm almost positive we got the Vintage Oak Cinnamon planks. We eventually decided on these because they're 100% waterproof. So if water does get on or under the floor, it wont warp or anything. Now let me be clear here. This floor won't prevent water from penetrating through to the floor underneath. It only prevents the floors from warping if water should get on the floors. If someone accidentally throws a sock in the sink and the sink floods from the washer, we'd have to dry it very quickly or decide to pull up the floors to make sure it was dry.
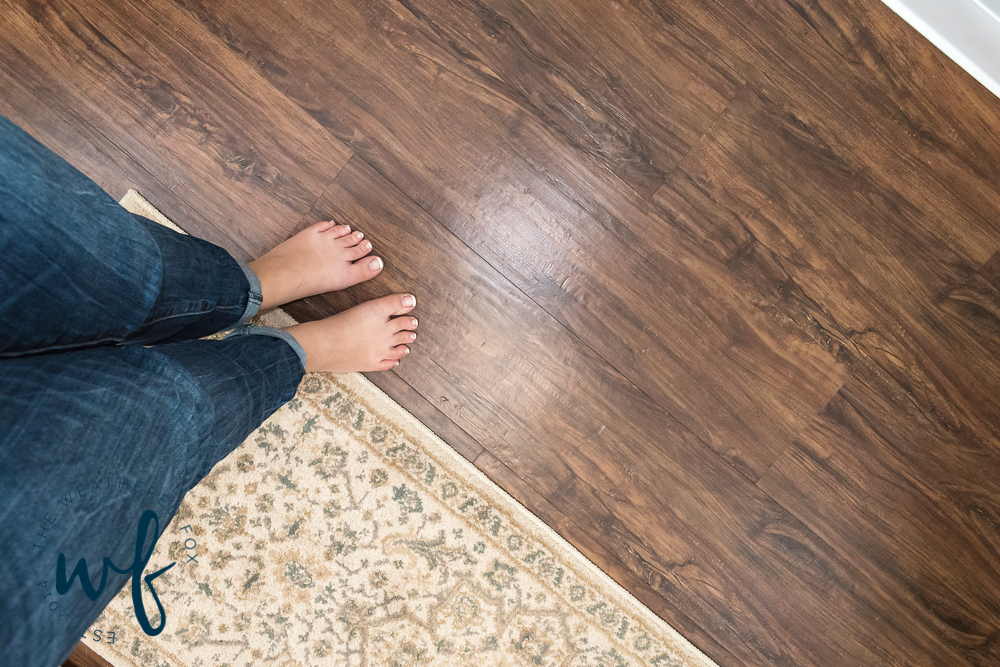
As luck would have it, they had enough boxes to finish the entire laundry room floor without having to order any more. So we filled up the car and went on our merry way.
Before we installed the flooring, we primed the floors with Kilz, just to be sure we were putting our new floor on a clean, sealed surface.
 Then we got to work. But first I need to acknowledge the footprints in the primer. *raises hand* That was me! You know, testing to see if it was dry by walking on it. Naturally. The first few planks took the longest to install because we didn't really know what we were doing. But after we figured it out, it went pretty smoothly!
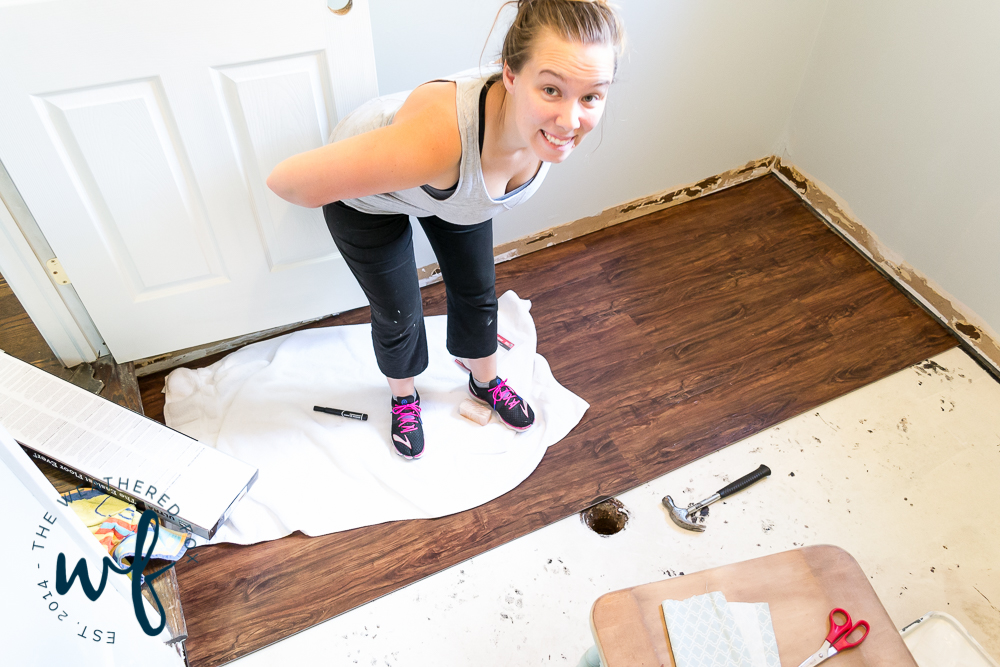
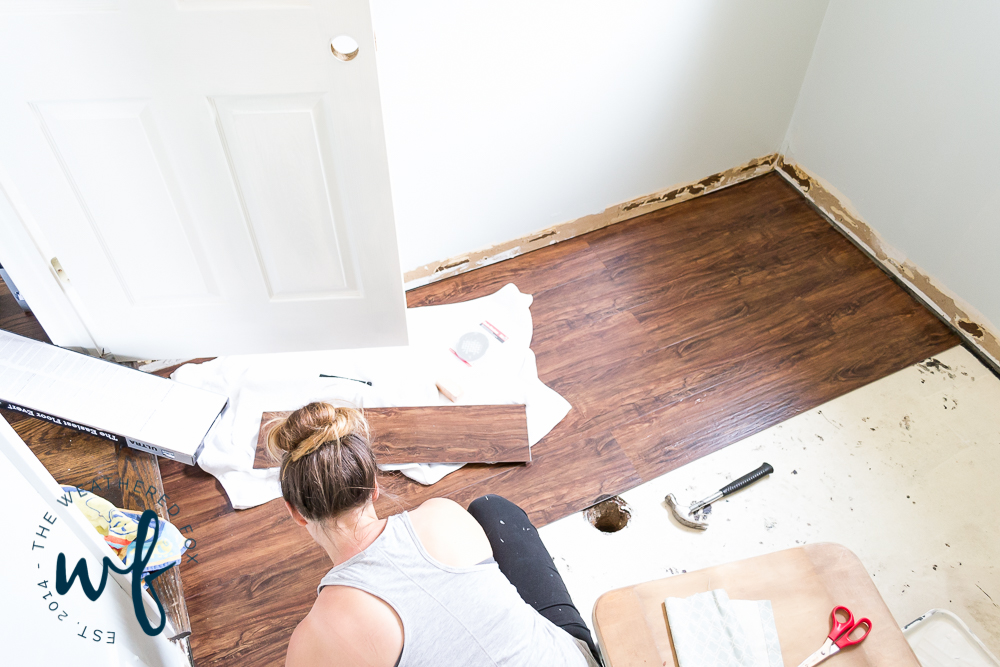
There was one spot that was particularly tricky to fit together, and that was over the drain. Because that is the area that slants the most, the planks didn't want to fit together over the sloped surface. We had to whip out the hammer, and may have caused a little bit of damage to the edges where the planks click together, but in the end it looks fabulous.
I may be showing a bit of my OCD here, but when the floors were complete, there were some areas where I could see the gray seams in between the planks. That is most likely because the floors were so uneven that the floors didn't fit perfectly together. See on the left the seam is black, and on the right its gray? Well, that was all thanks to yours truly!
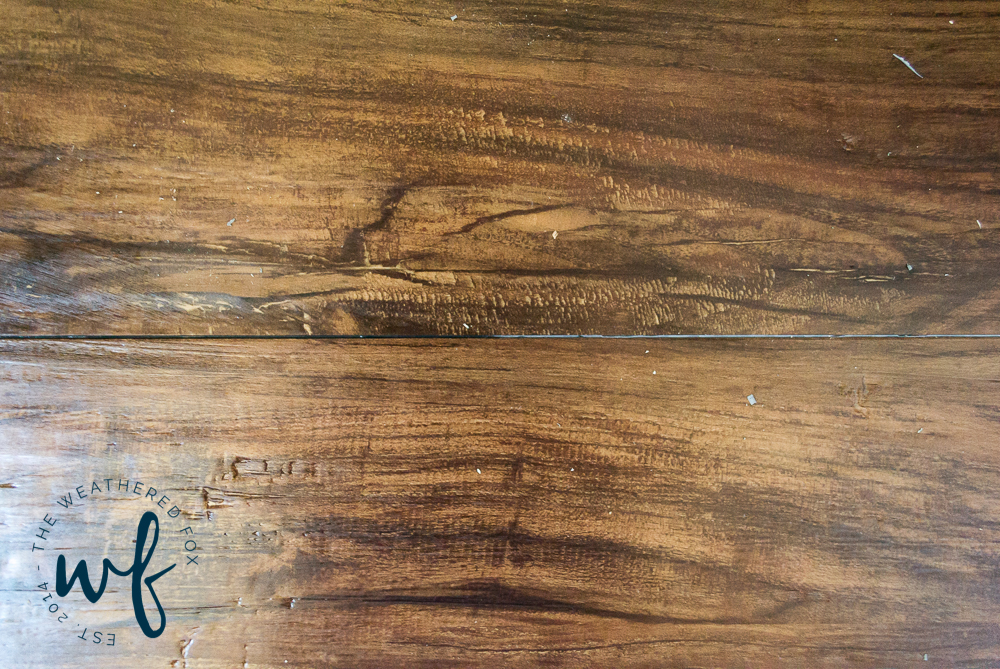
I grabbed a toothbrush and some black paint. Bear with me…
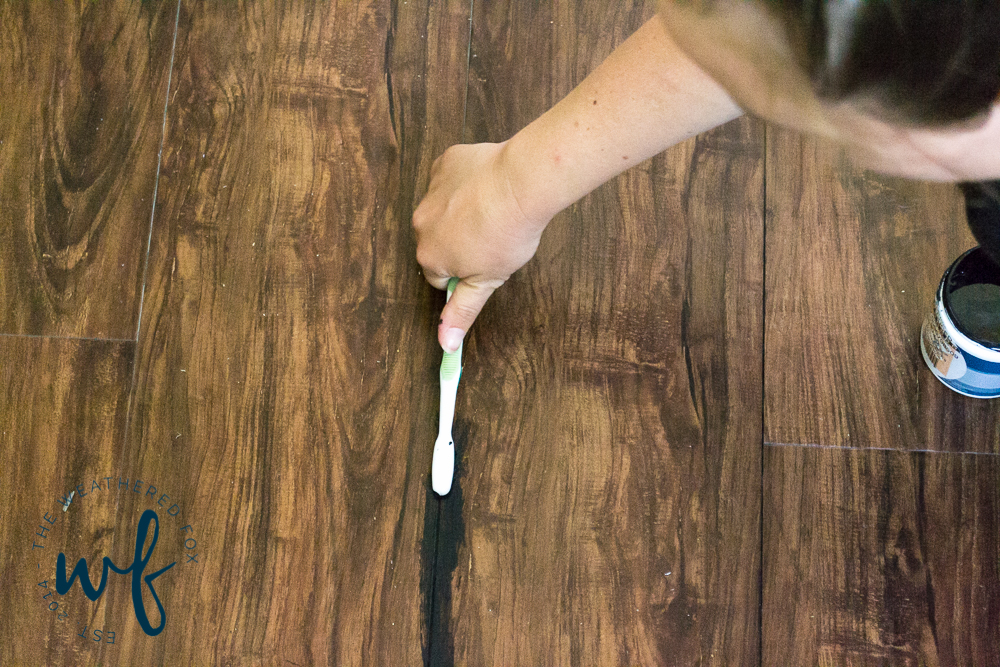
I literally 'brushed' the paint into the seams to paint over the gray crack. Then wiped the extra paint off of the planks with a damp cloth! Bye bye seams!
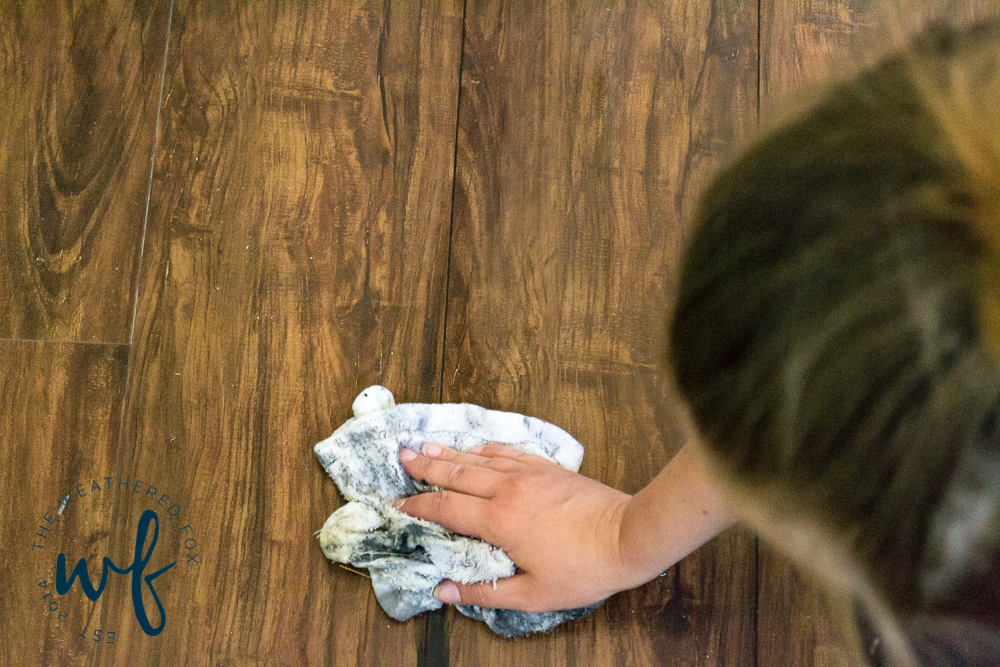
I know, I might be a little insane, but I think it makes the floors pass for actual wood instead of a click together vinyl. Maybe no one would have ever noticed the gray. But I guess we'll never know now will we!
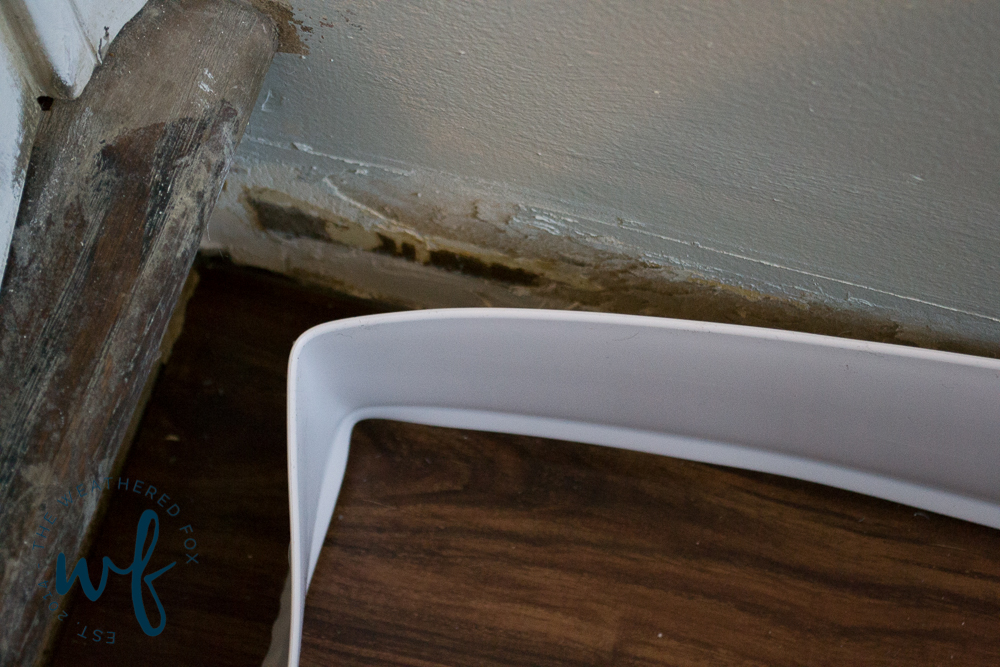
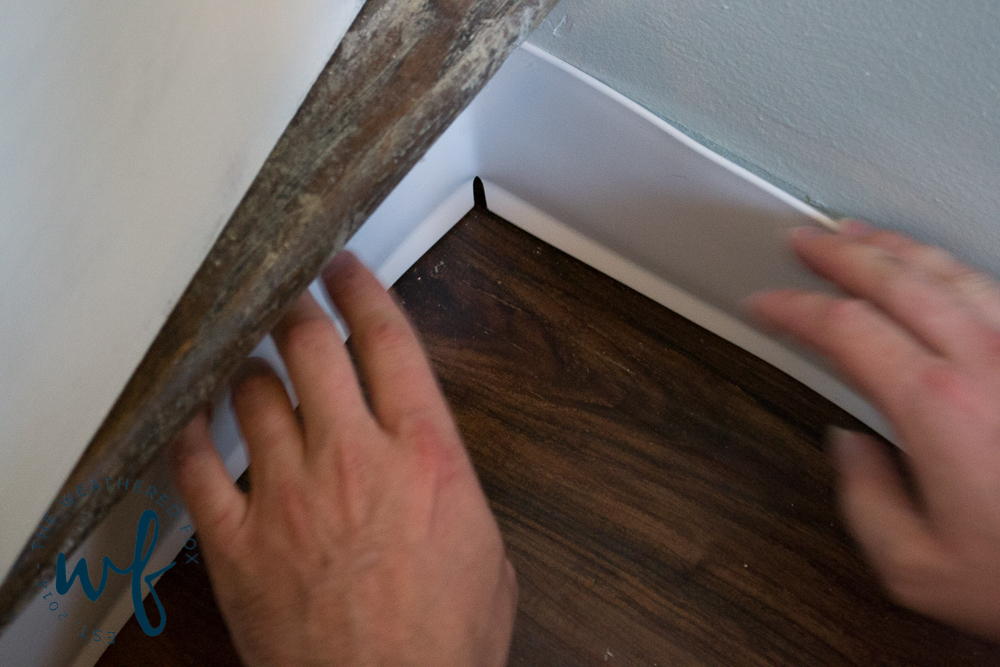
OK. On to the base trim. We stuck with the durable vinyl type stuff that we tore out. It's waterproof, self sticking, pretty cool stuff. You just unroll it, peel the paper off the back, and stick it on.
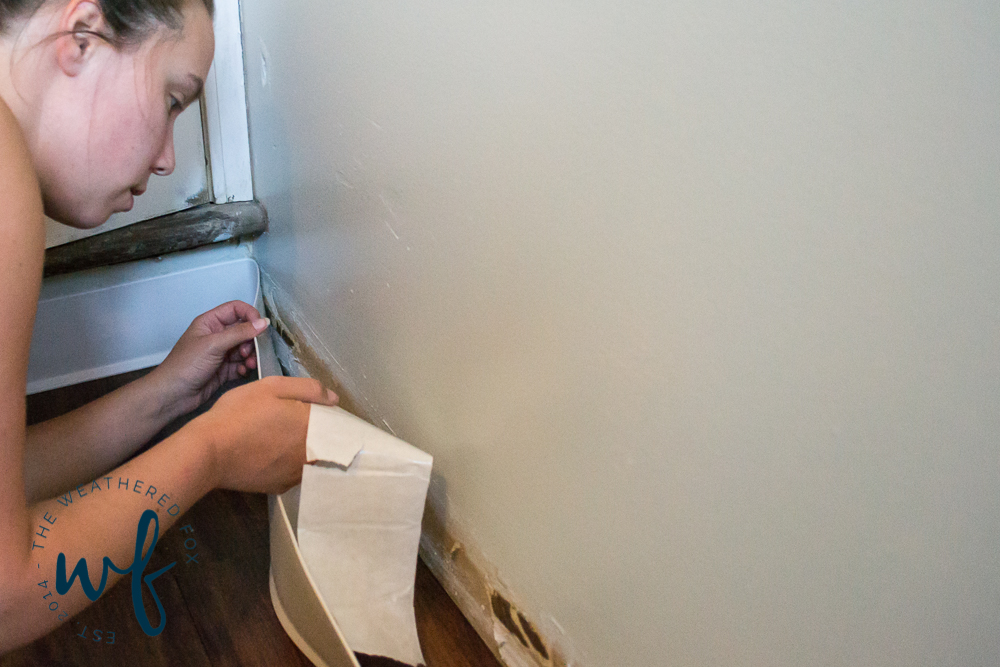
I would kind try to keep a steady line, line it up at the top of my straight line first, then press it down. That way it does that little curve into the floor like it' supposed to. If you're not careful, this stuff can start to veer up your wall because it's just a big roll!
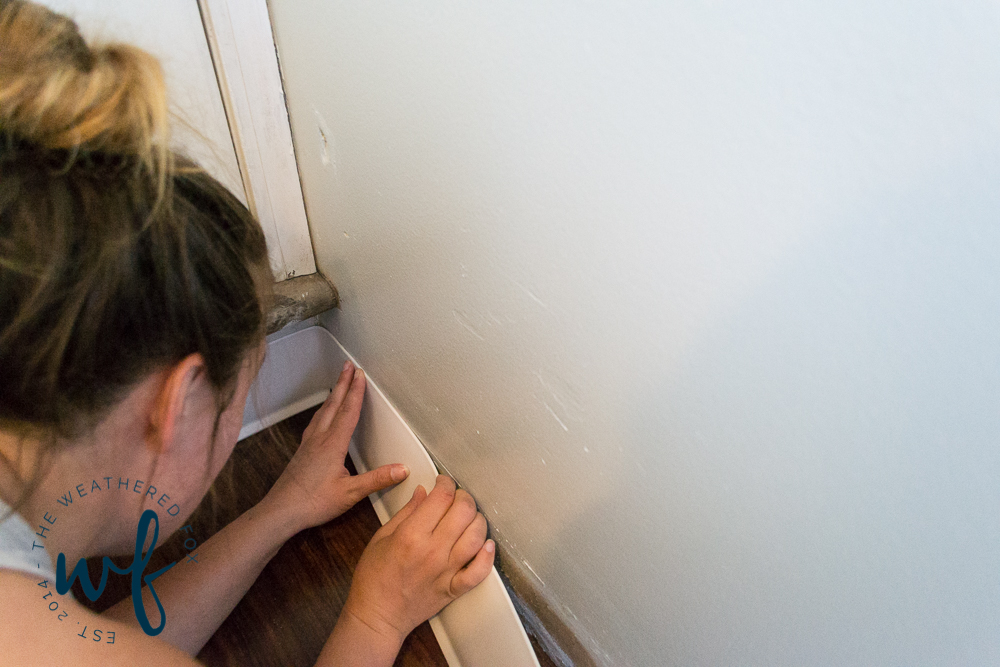
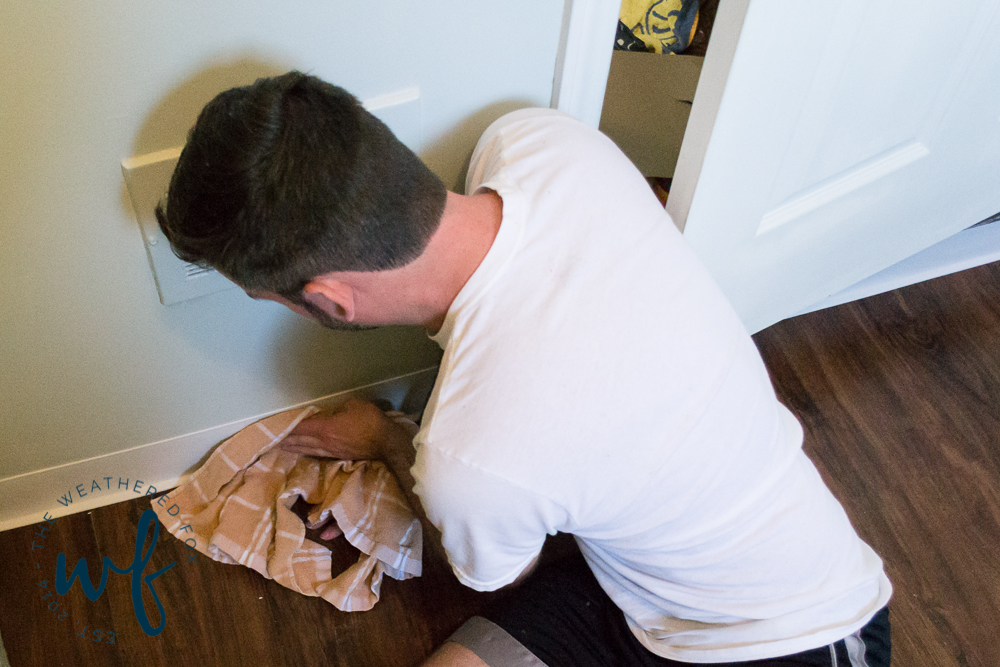
Once I had it in place, Brian would go behind me with a towel and just smooth it out to make sure it had an opportunity to adhere to the wall.
And this stuff REALLY sticks! We put it right ver out beat up drywall and it had absolutely no problems sticking to it whatsoever!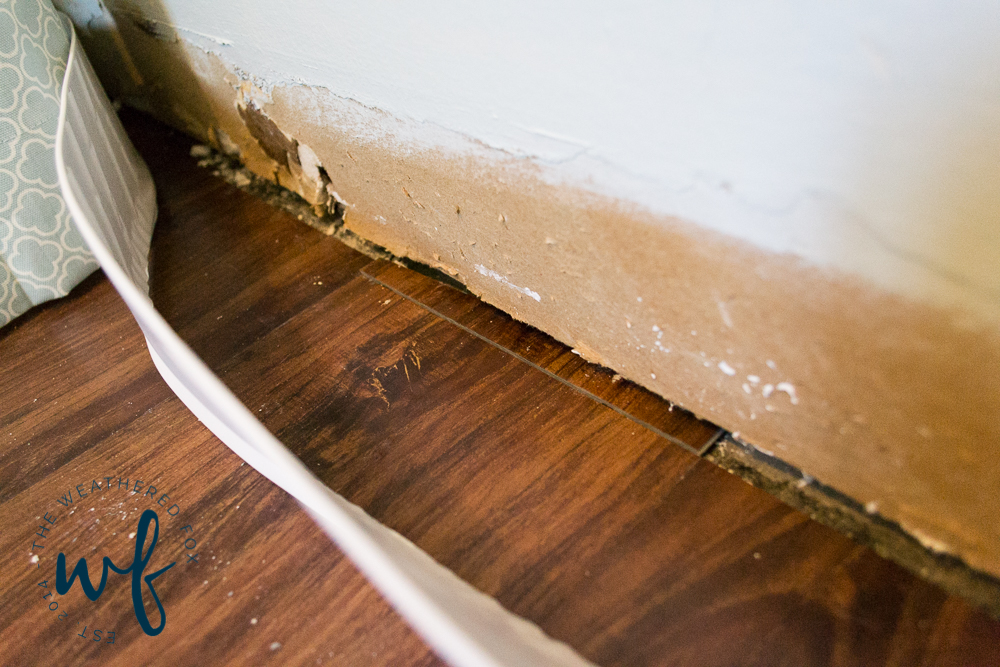
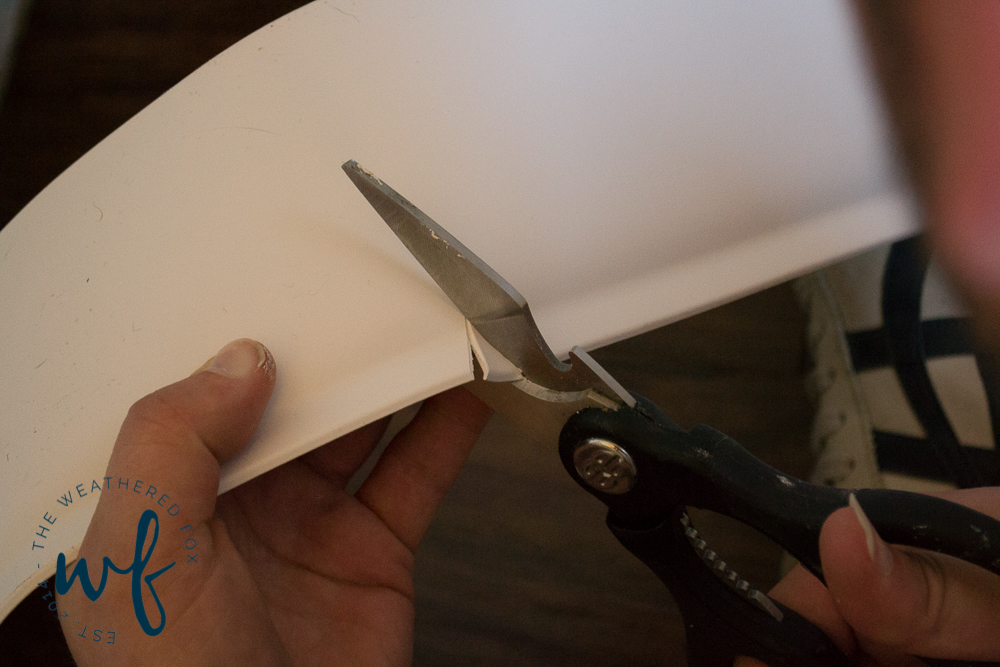
For the corners, we just made a crease where the trim meets the corner, cut a little v in the trim, and stuck it in place. Easy squeezy!
And that's it! The floors are done! This week I'll be sharing a full reveal of the space, but if you want to see the entire series, click below:
Day 1: Reusing the old cabinets and building more storage
Day 2: Utility Sink Makeover and Backsplash Goes Up
Day 3: Putting in new Vinyl Floors and Base Molding

If you like this Budget Laundry Room Makeover, you'll love these posts!
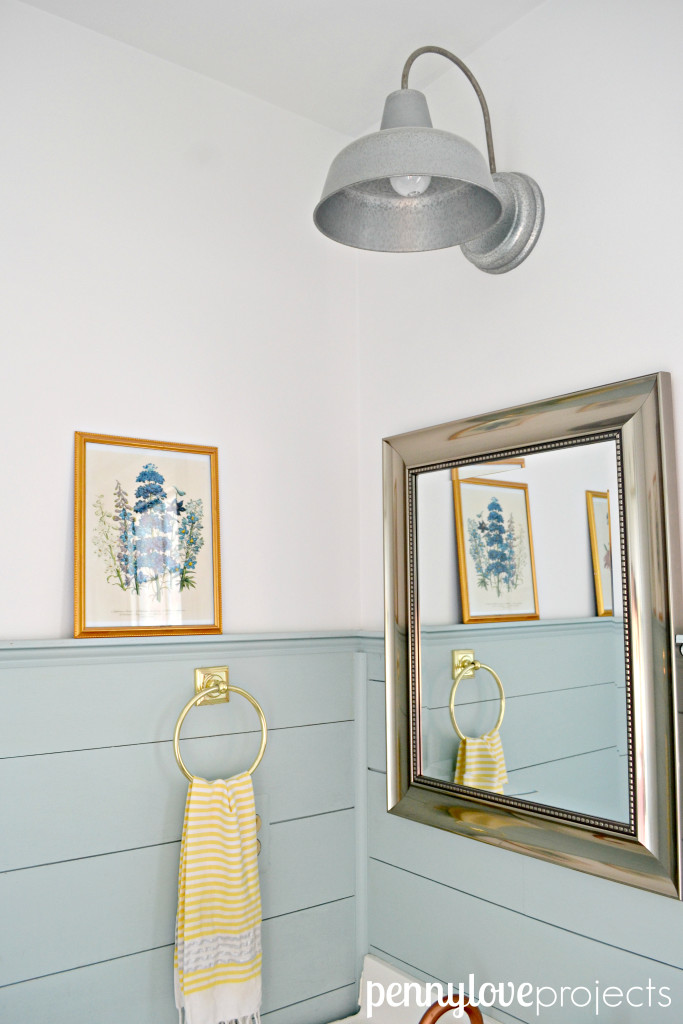
$200 Powder Room Makeover
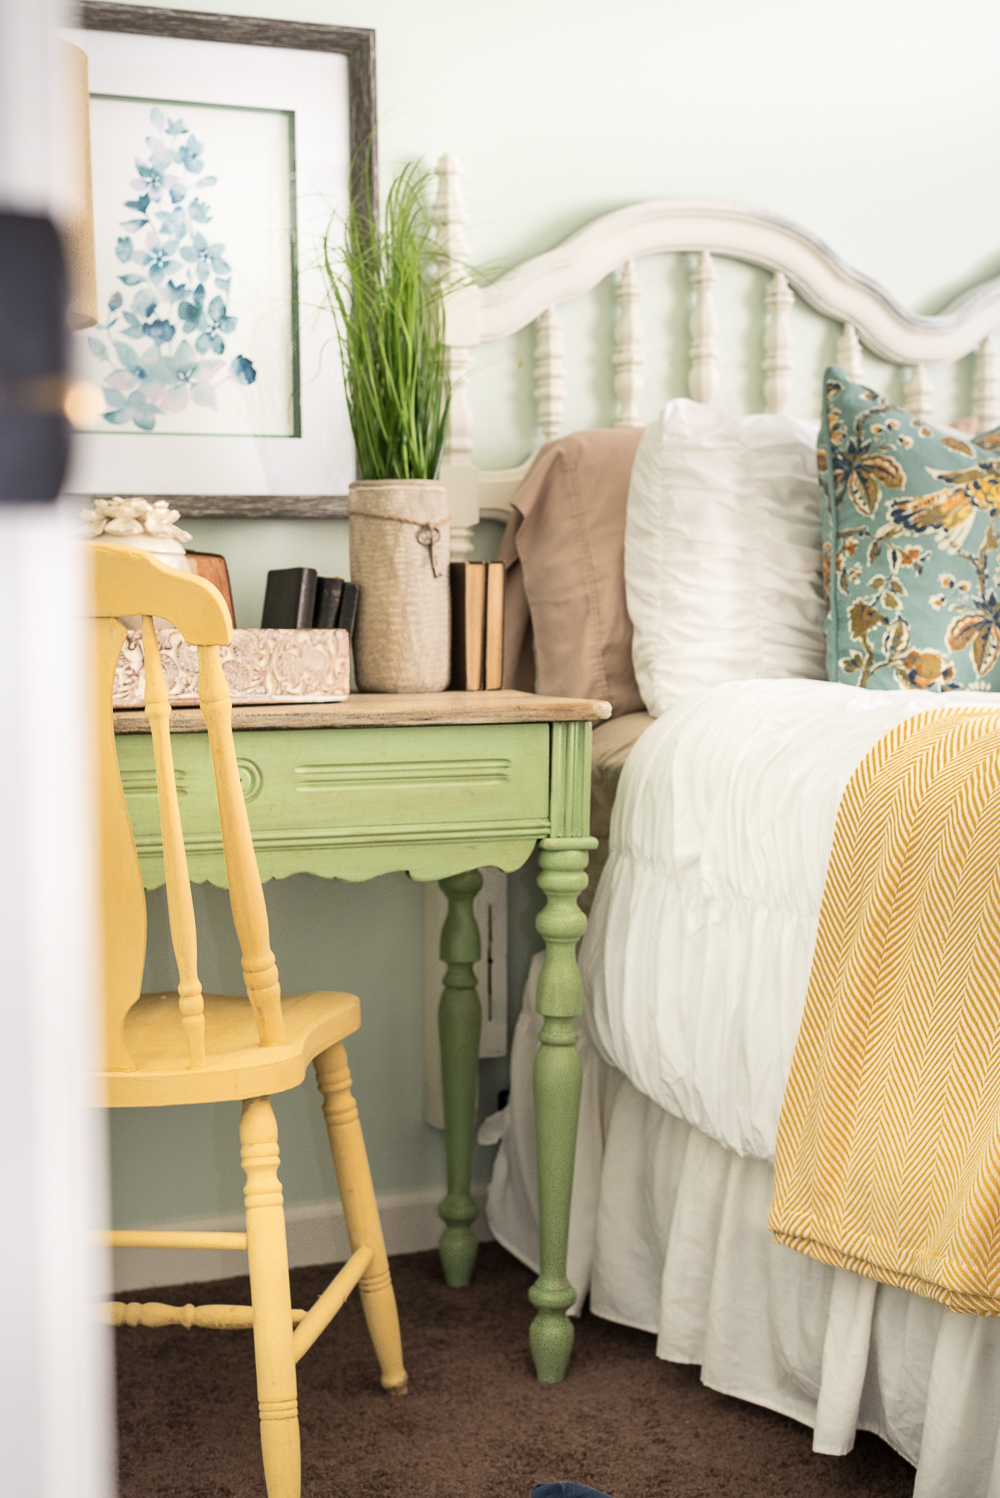
Nature Inspired Budget Bedroom Makeover
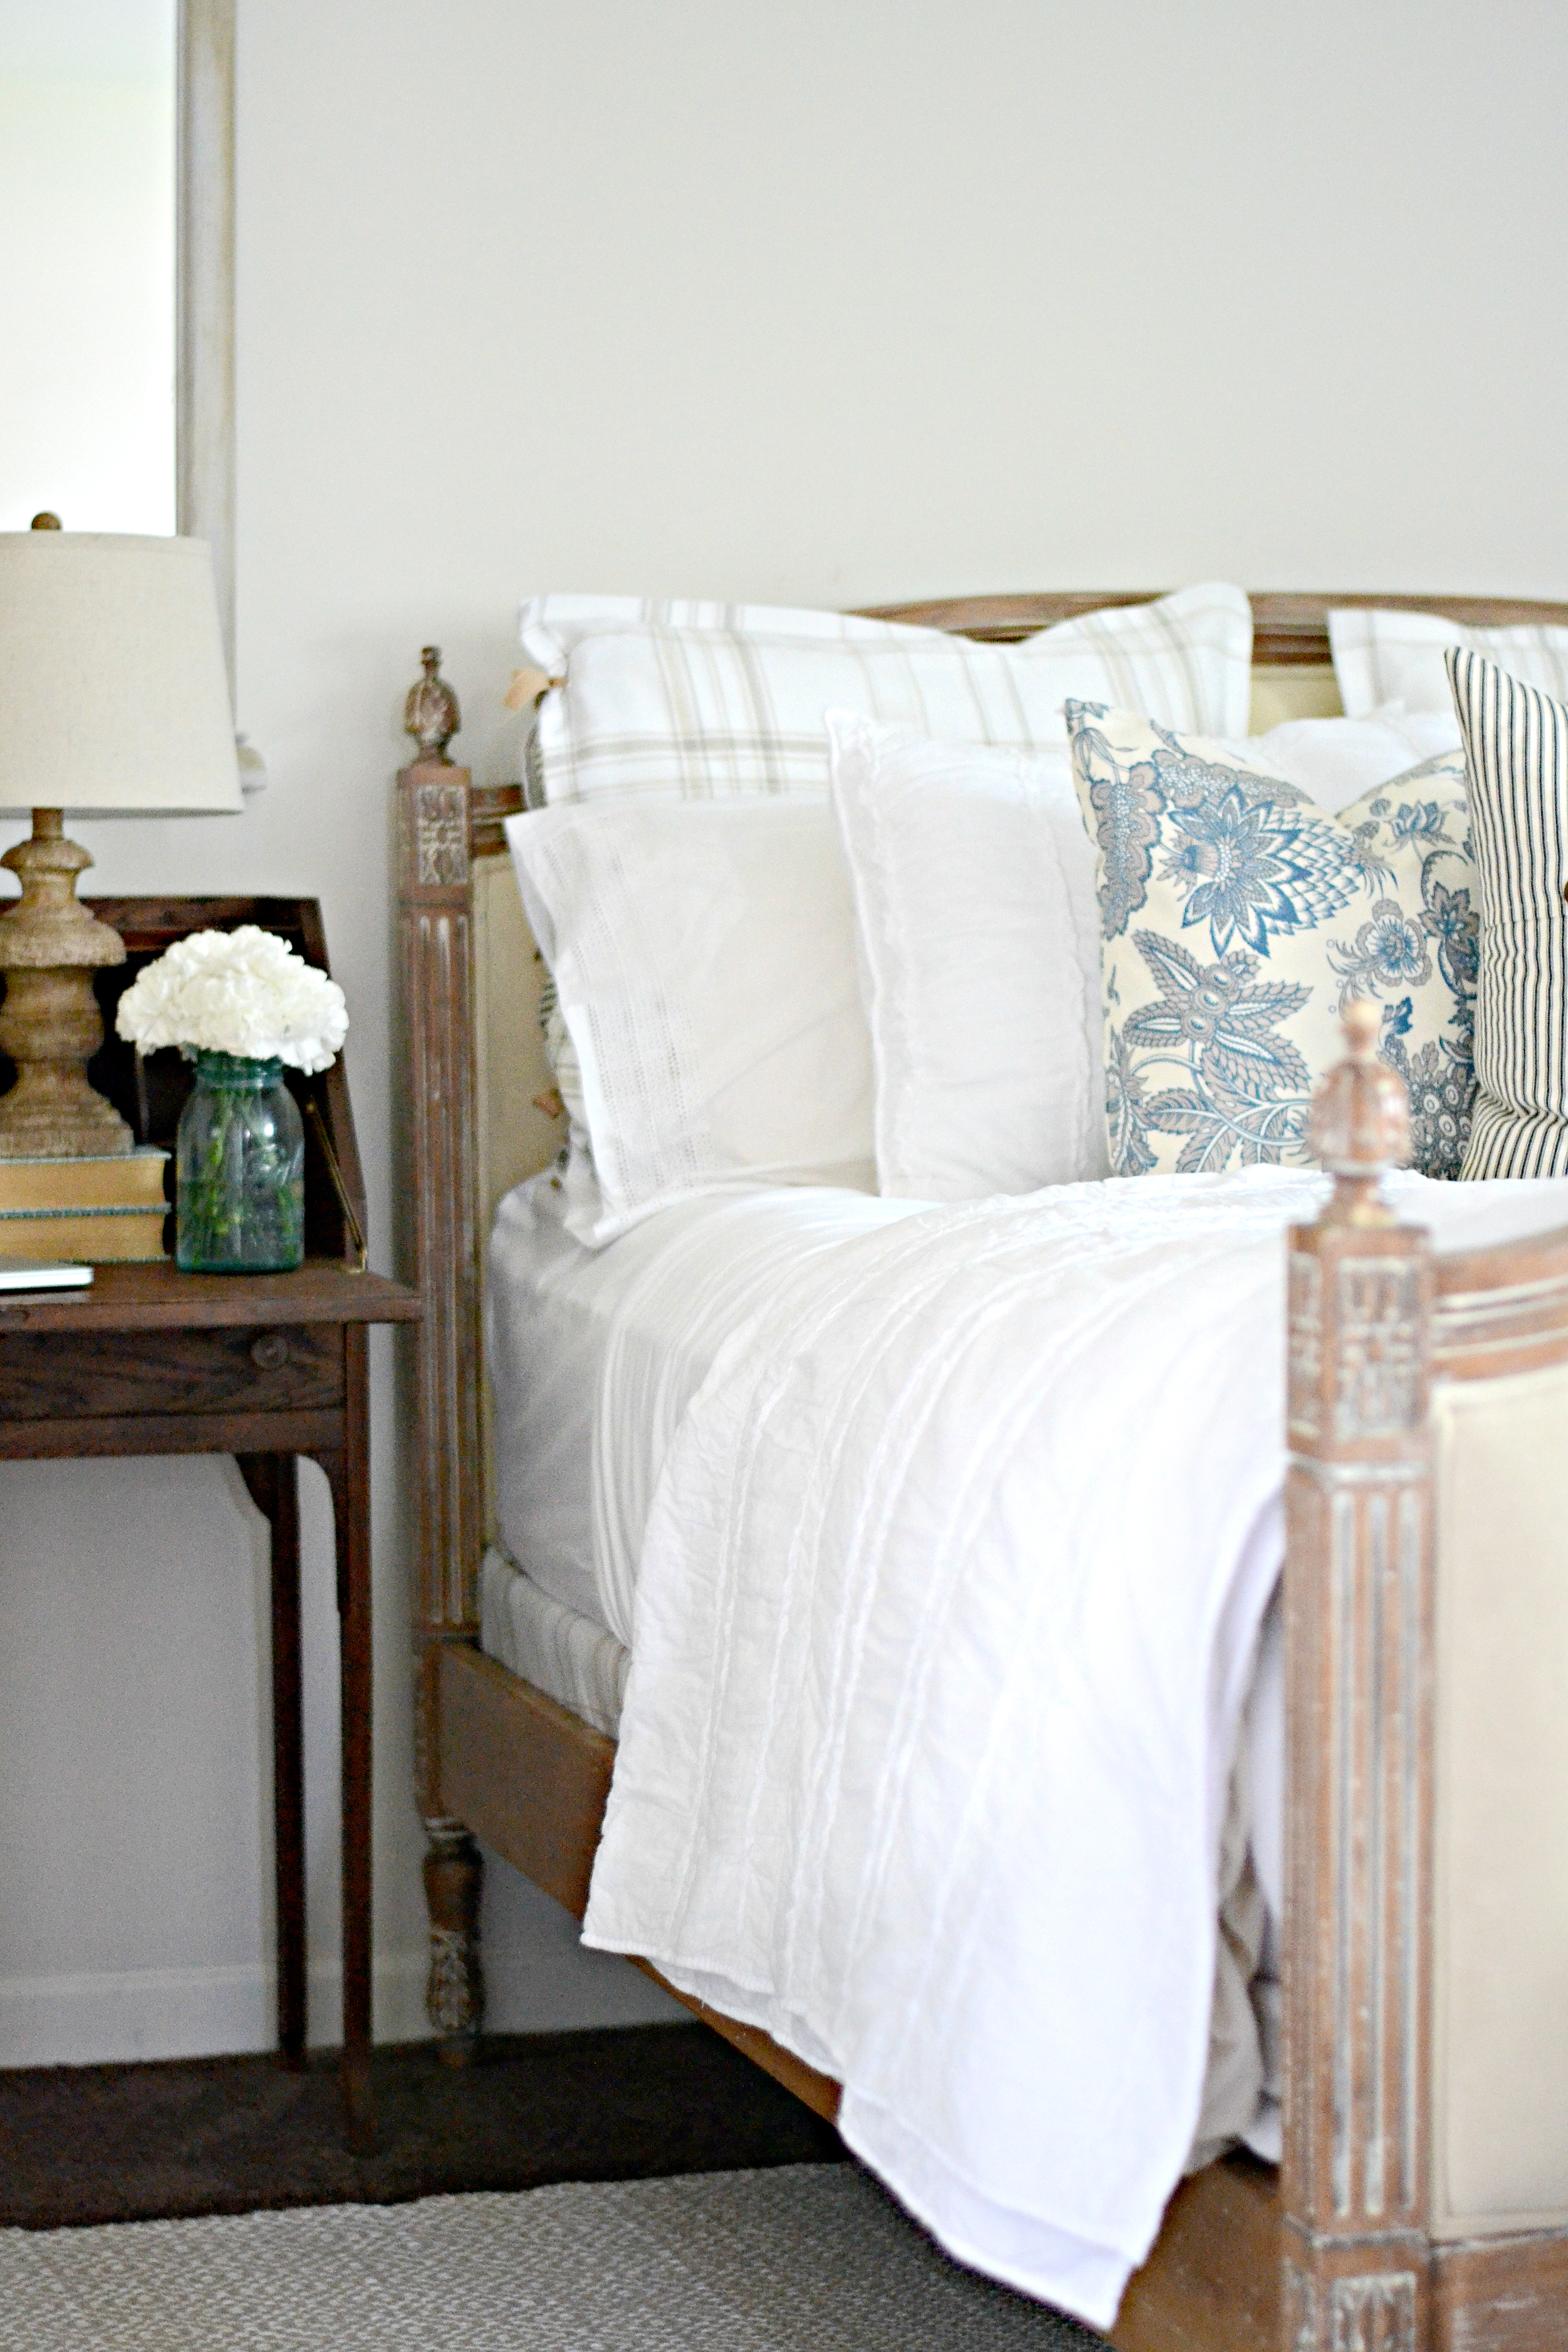
Budget Friendly Farmhouse Bedroom
How To Install Vinyl Plank Flooring Around Floor Drain
Source: https://www.theweatheredfox.com/install-vinyl-floors-laundry-room/
Posted by: bernardmorold69.blogspot.com

0 Response to "How To Install Vinyl Plank Flooring Around Floor Drain"
Post a Comment